After you create an event registration package record, you can generate a receipt record. A receipt record summarises the event registration package purchased by the donor during registration. If you add Word templates, they also provide a way to print a receipt or thank-you letter.
You can void a receipt or void and reissue a receipt.
Generate or change a receipt record
To access receipting features for an event registration package, open the Additional Information tab of the event registration package record:
In the navigation pane, select Events from the Change area menu.
Under Event Transactions, select Registration Package.
Select an event registration package, and then select the Additional Information tab.
Select Receipt > Generate Receipt on the action pane.
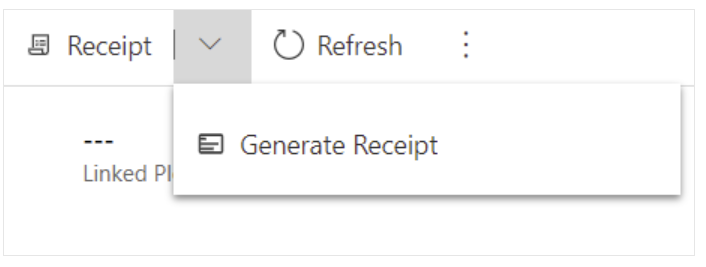
When the receipt is ready, the Receipt # field displays the receipt number as a link to the new receipt record.
Void a receipt
With a registration package record open, select Receipt > Void on the action pane.
The solution voids the current receipt and changes the name of the receipt. The status of the receipt changes to Void.
Void and reissue a receipt
With a registration package record open, select Receipt > Void (Reissued) on the action pane.
The solution voids the current receipt and generates a new receipt record. This new receipt is associated to the Event Registration package.
Print receipts and thank-you letters for event registration
You can prepare Word templates and assign them to workflows to connect them to event registrations. Then, users can prepare receipts and thank-you letters from the Event Registration Package form.
You can use options in the Event Configuration section of the Configuration record to set whether the Print Receipt and Print Thank You commands are visible to users.
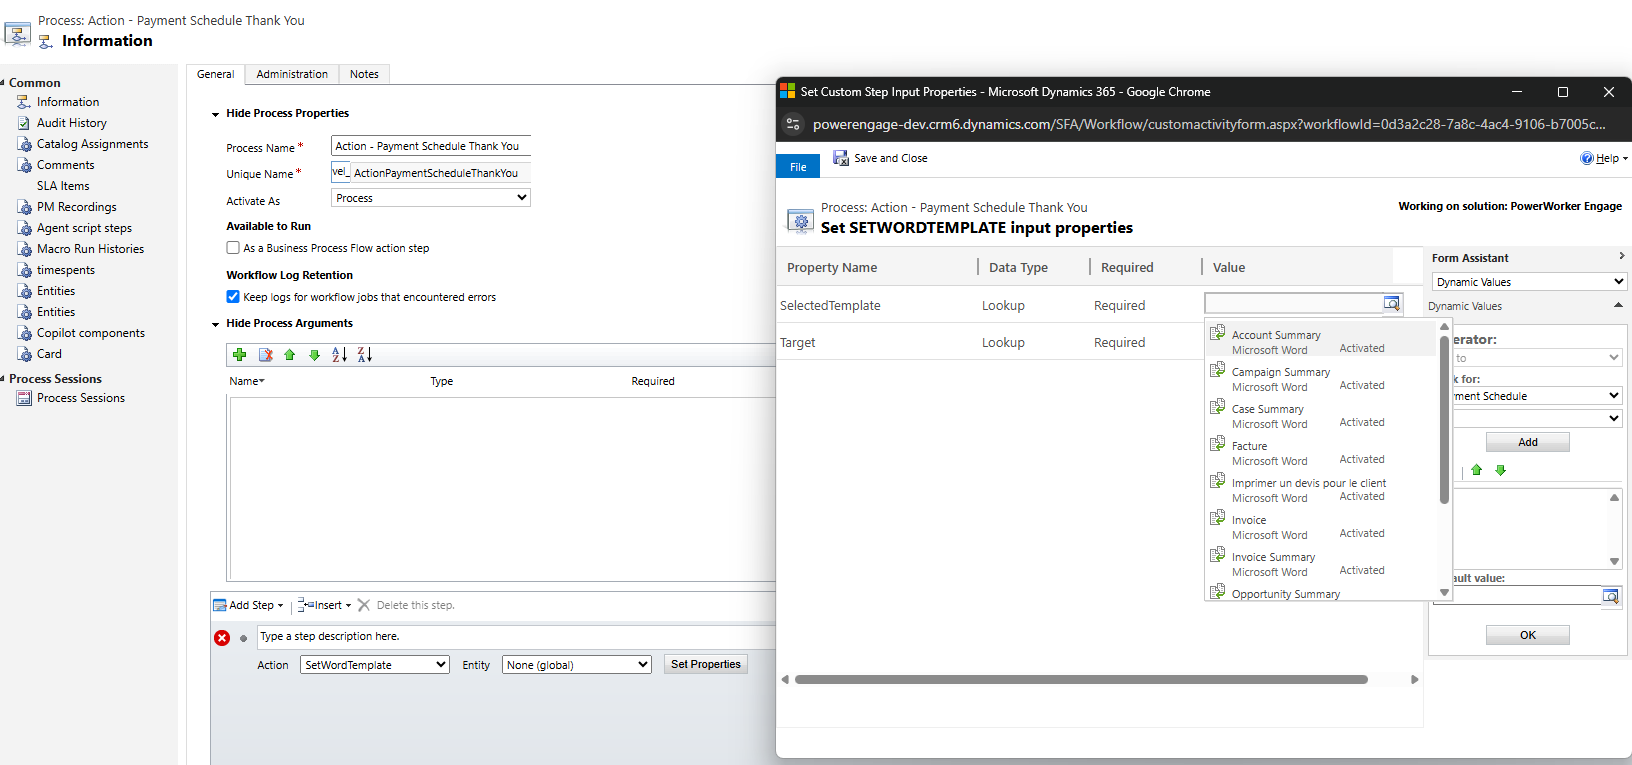
Assign a template to a workflow
Template | Process |
Transaction | Action – Transaction Receipt |
Donor Commitment | Action – Donor Commitment Thank You |
Payment Schedule | Action – Payment Schedule Receipt |
Event Package | Action – Event Package Receipt |
PowerWorker Engage includes the following processes, which must have an assigned template before you can activate them:
To assign a template to a workflow in PowerWorker Engage, open the workflow and select Set Properties.
From the selected Template option, select the template to use for the workflow you’re editing, then select OK, and then publish the workflow.