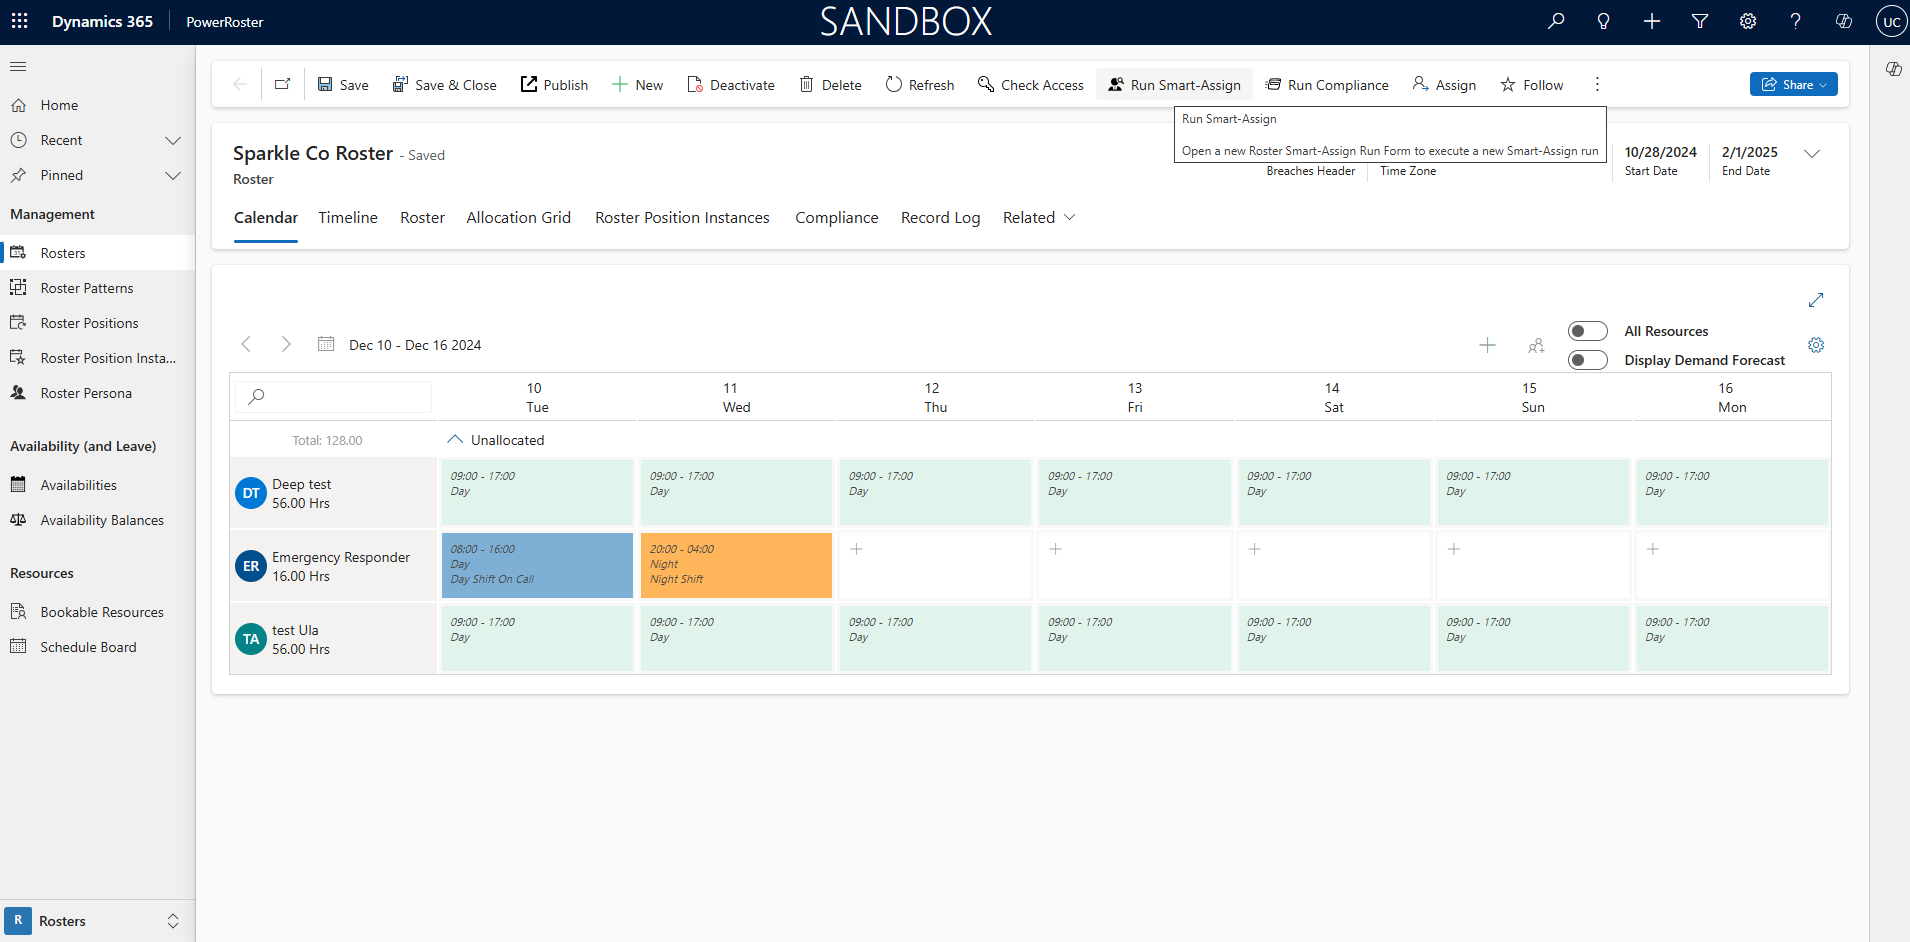
Navigate to PowerRoster App > Rosters >Select the roster you want to use for the Smart Assign feature.
Select Smart Assign.
A new window is displayed.
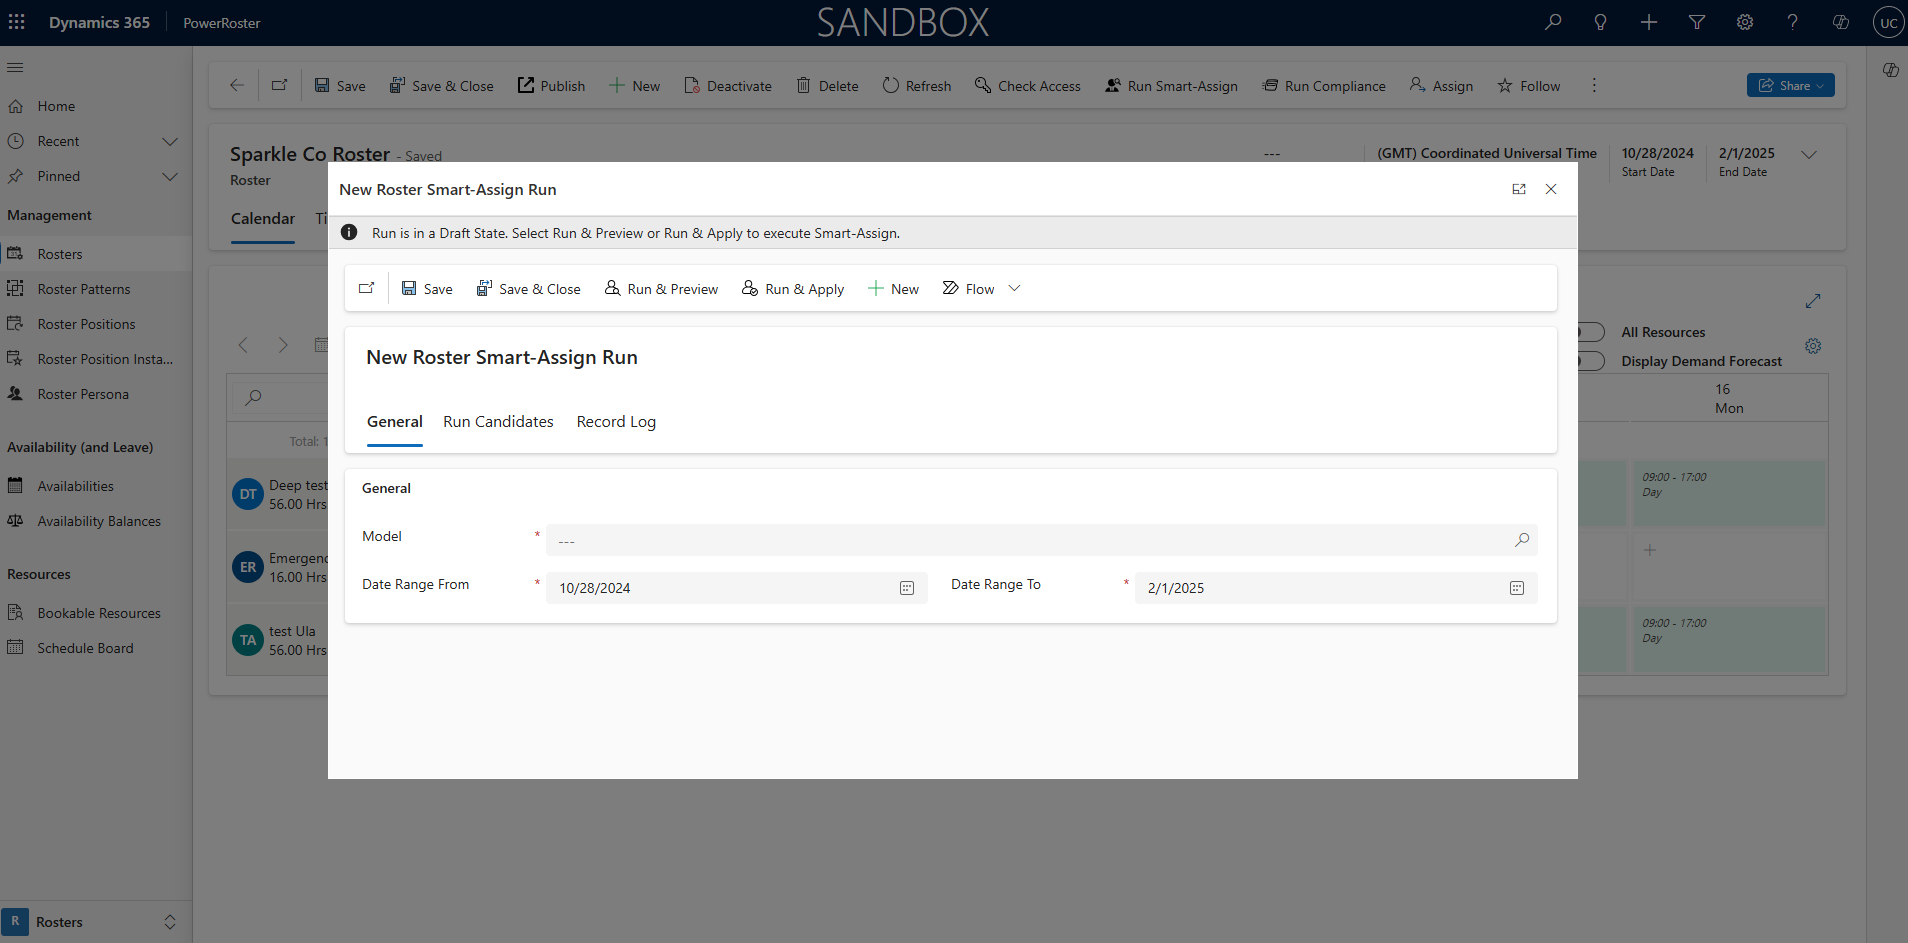
Fill in the required fields and Save.
Field | Description |
*Model | Add a Model that will tell the engine how to prioritise the Resources assigned to each shift. |
*Date Range From | Specify the Date Range From - This will filter out which shifts to auto-assign |
*Date Range To | Specify the Date Range To - This will filter out which shifts to auto-assign |
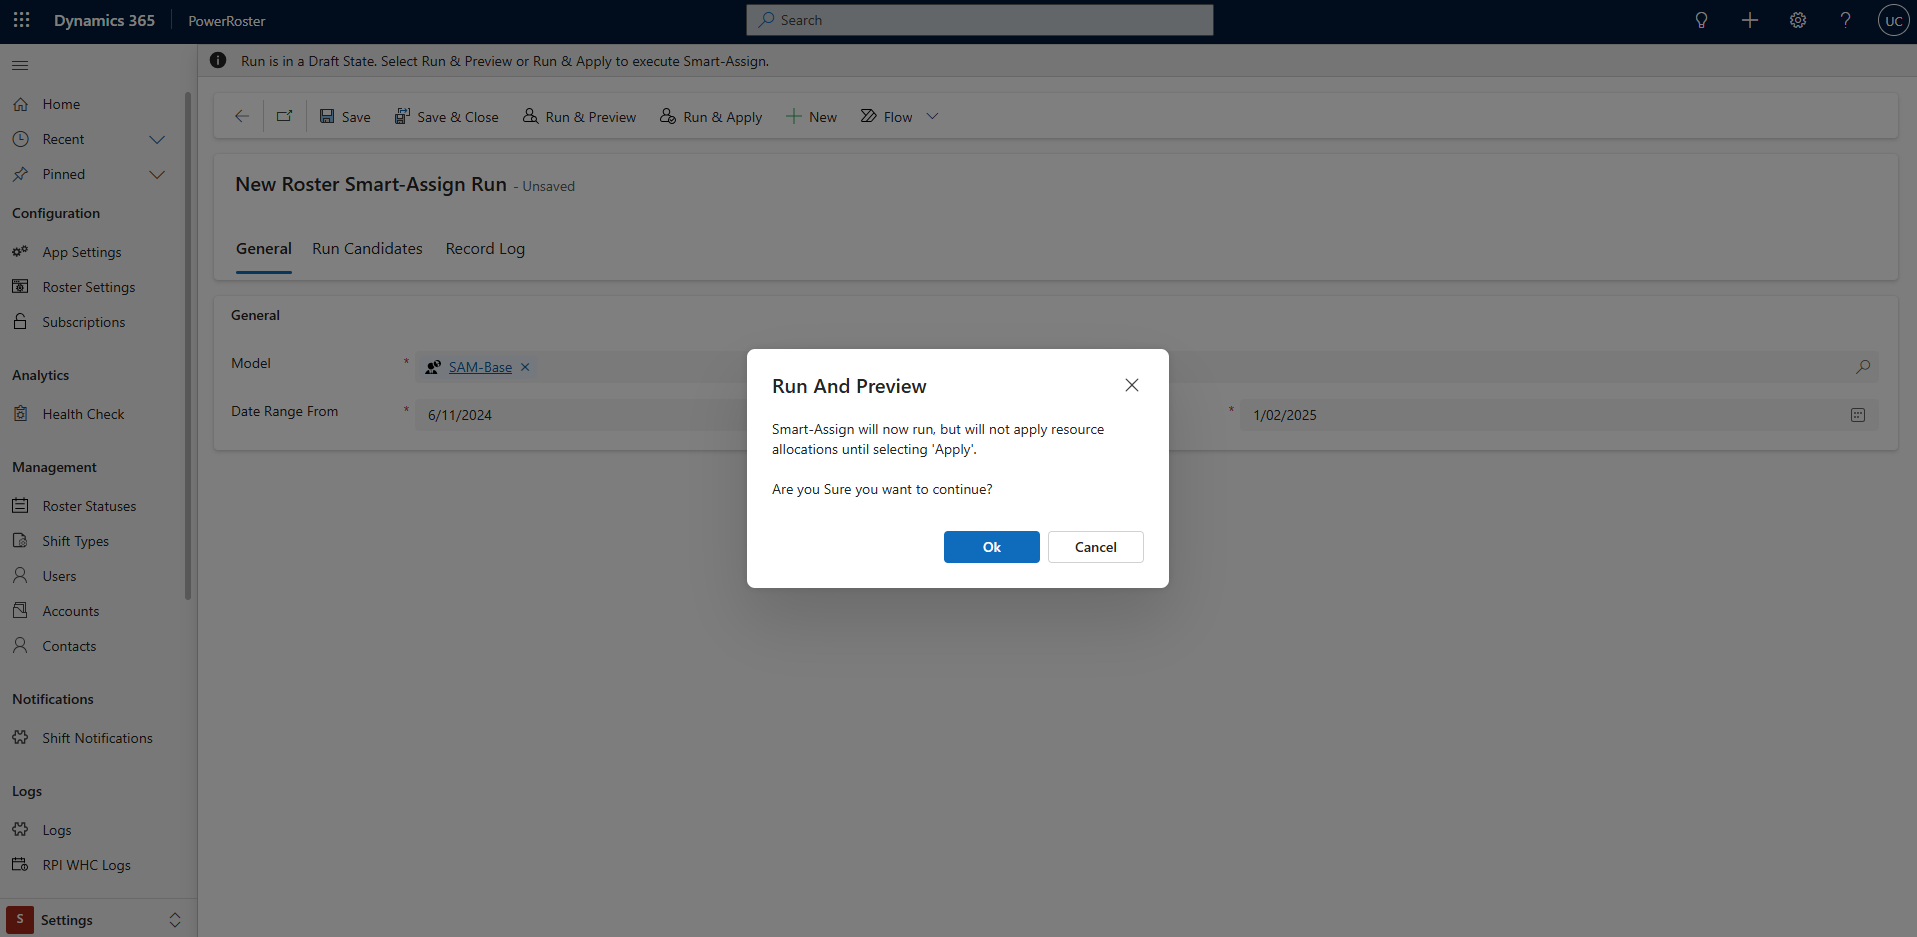
Review Assignments: Select Run & Preview; this will allow users to preview the proposed changes before being applied.
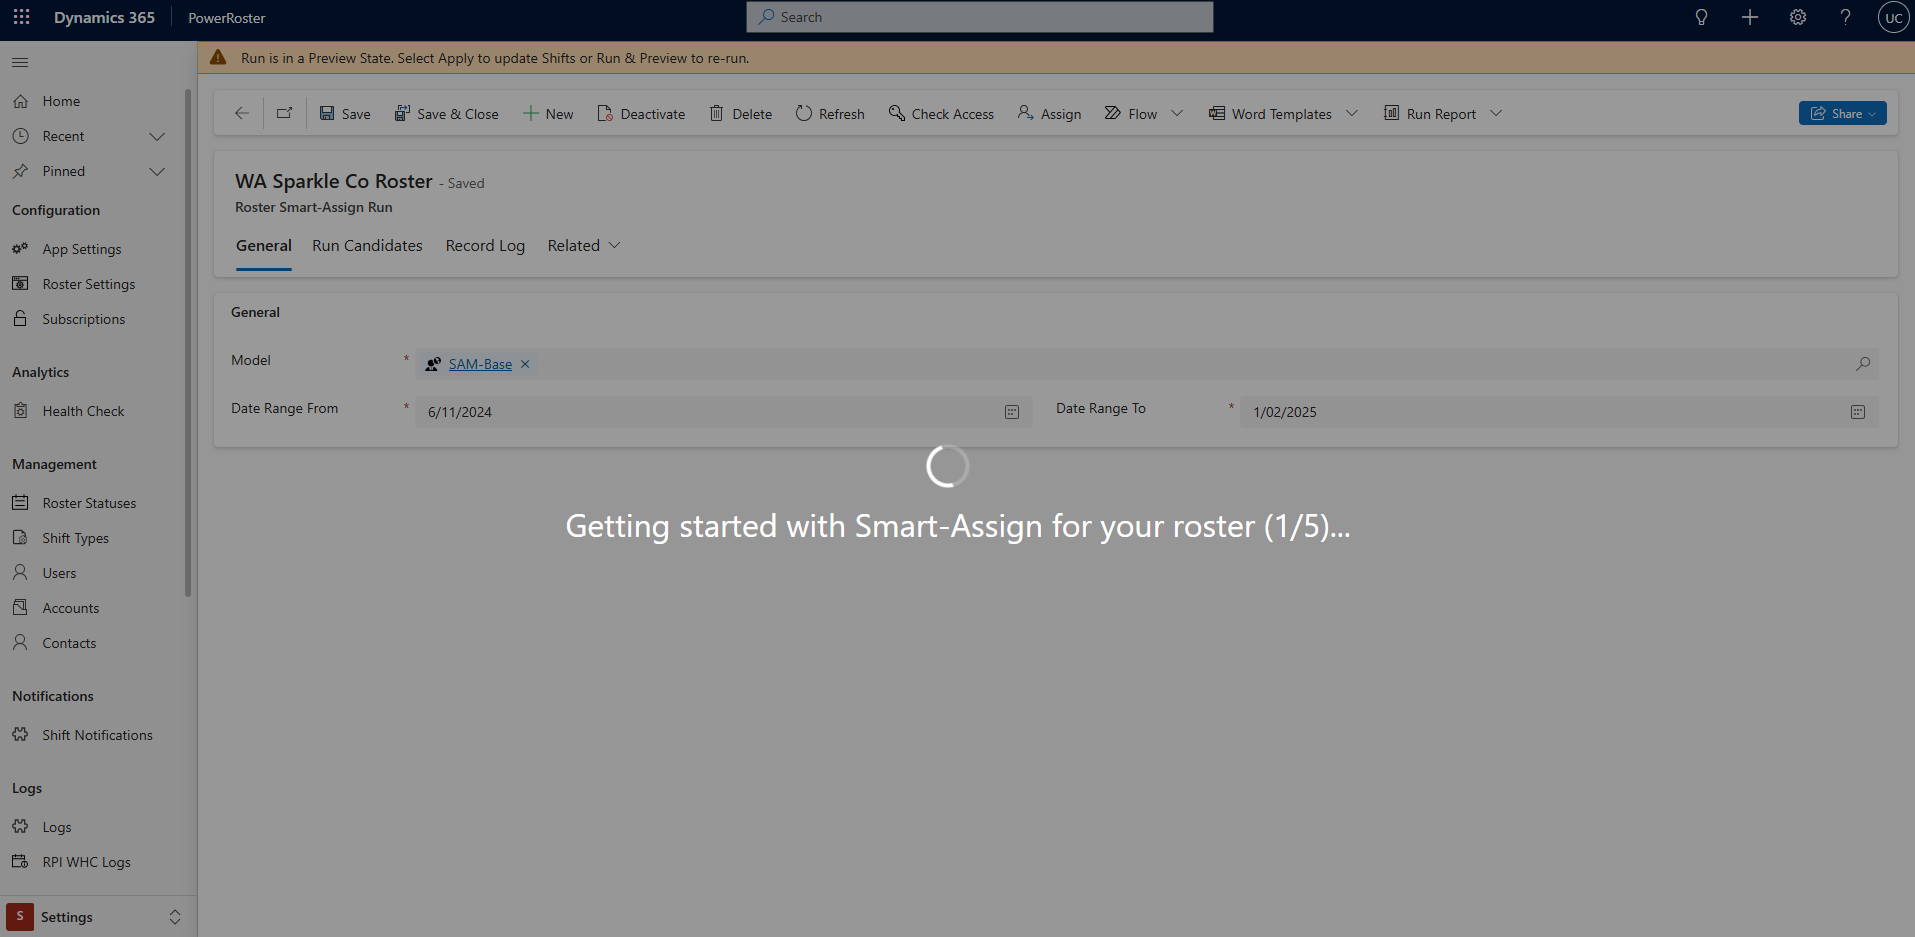
A new window will display the process progress, which takes five stages to complete.
Review Shift Candidates: Upon completion, a new tab shows the Shift Candidate records. Review these for shift details and assigned resources.
You can modify or deactivate Assignments: Adjust resource allocations or deactivate specific assignments as needed.
Cancel or Apply Runs:
To cancel the run, select Cancel. This keeps the records but marks the run as cancelled.
To apply the assignments, select Apply. This confirms the resource allocations to the respective shifts.